A complete SuiteCRM and Docusign integration which allows us to quickly pull data from SuiteCRM modules like Account, Contact, Lead, Prospect, User, Quote and Contract and then send them out for signature directly from SuiteCRM. The signed document's fields are then returned to SuiteCRM and attached to the corresponding SuiteCRM records. The signed documents are returned to SuiteCRM and attached to the document envelope.
Installation Guide
Installing the Add-on
1. Navigate to Admin > Module Loader and select the zip file, that you would have received upon the purchase. Follow the installation process.
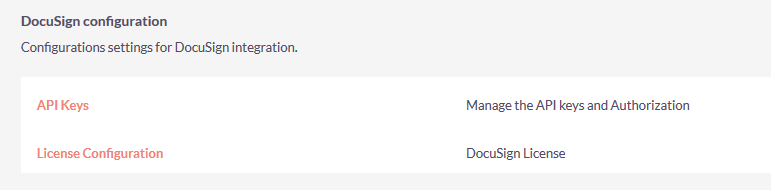
2. Once the add-on is installed successfully, you have to provide a valid license. Go to Admin and access “Docusign Configuration” link shown as below.
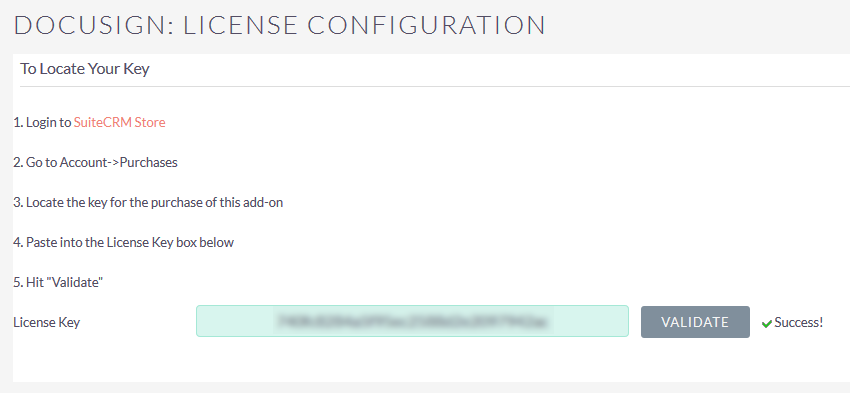
3. Provide the license key that you have received upon purchase and validate it.
4. Get your Docusign account from https://docusign.com and get your API keys.
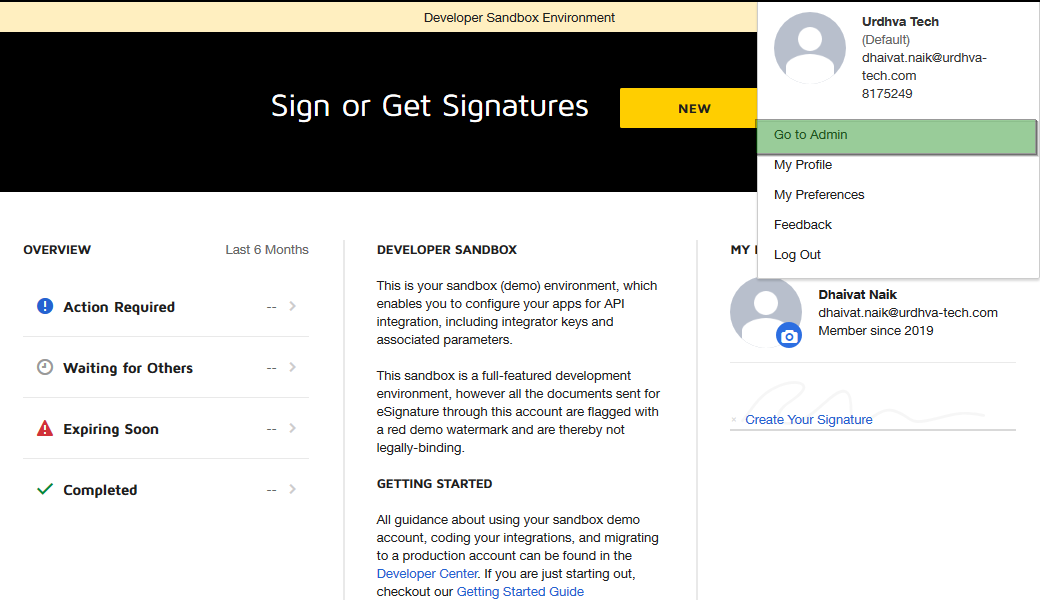
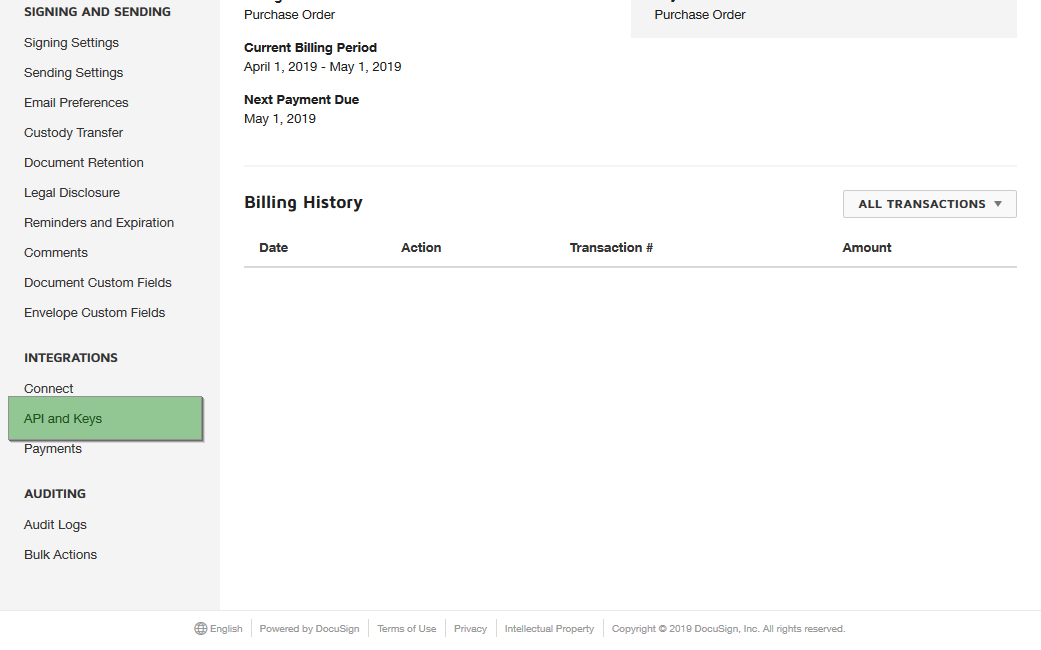
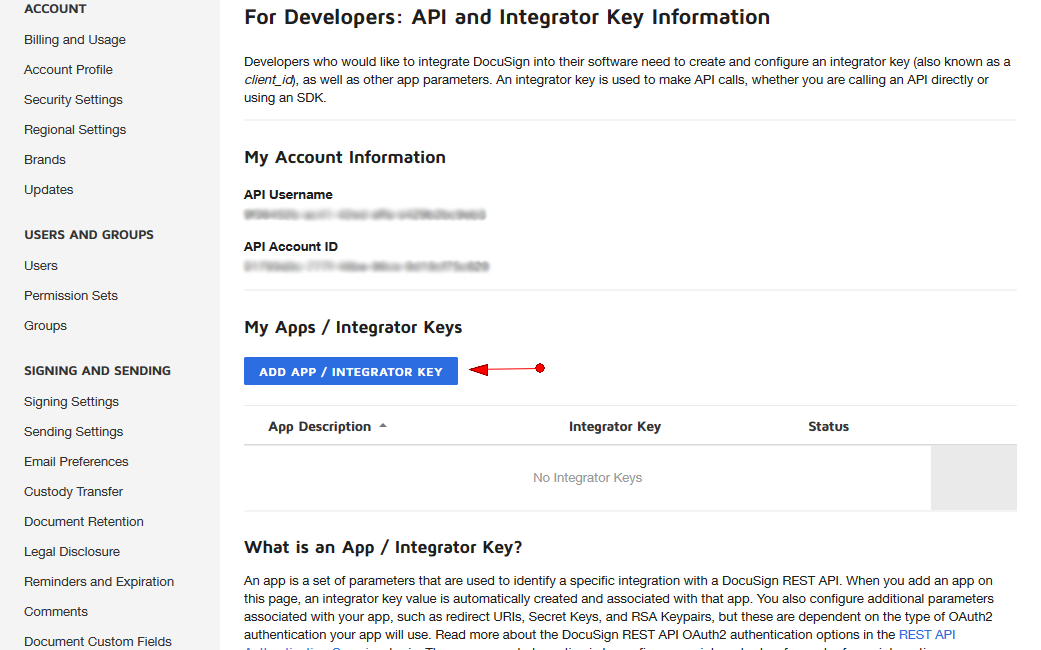
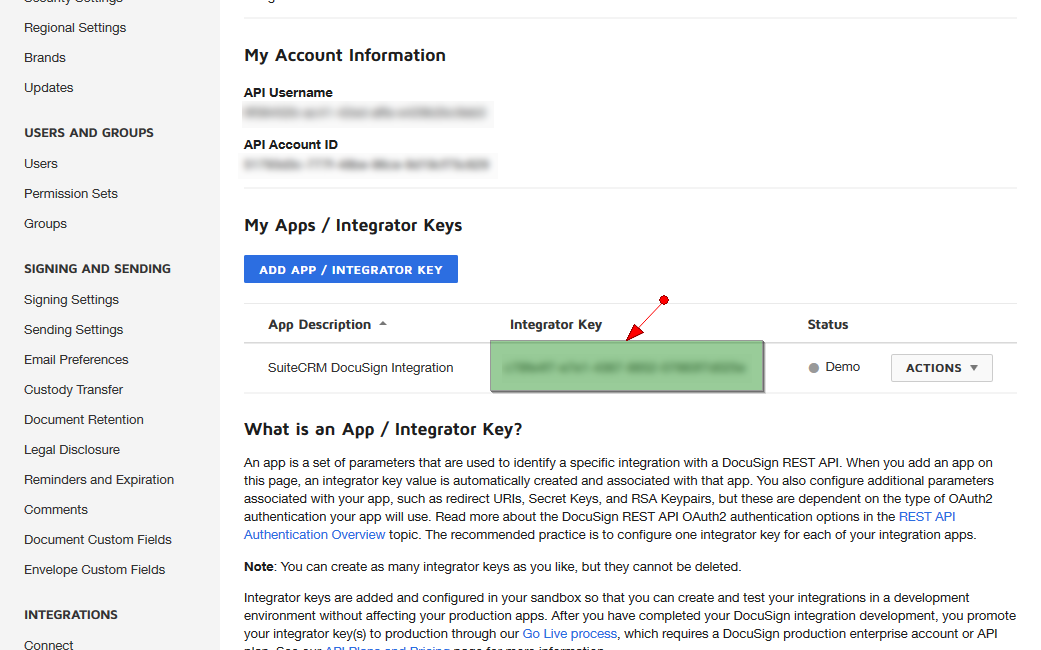
5. Create the “App and Integration Key” if doesn’t exist.
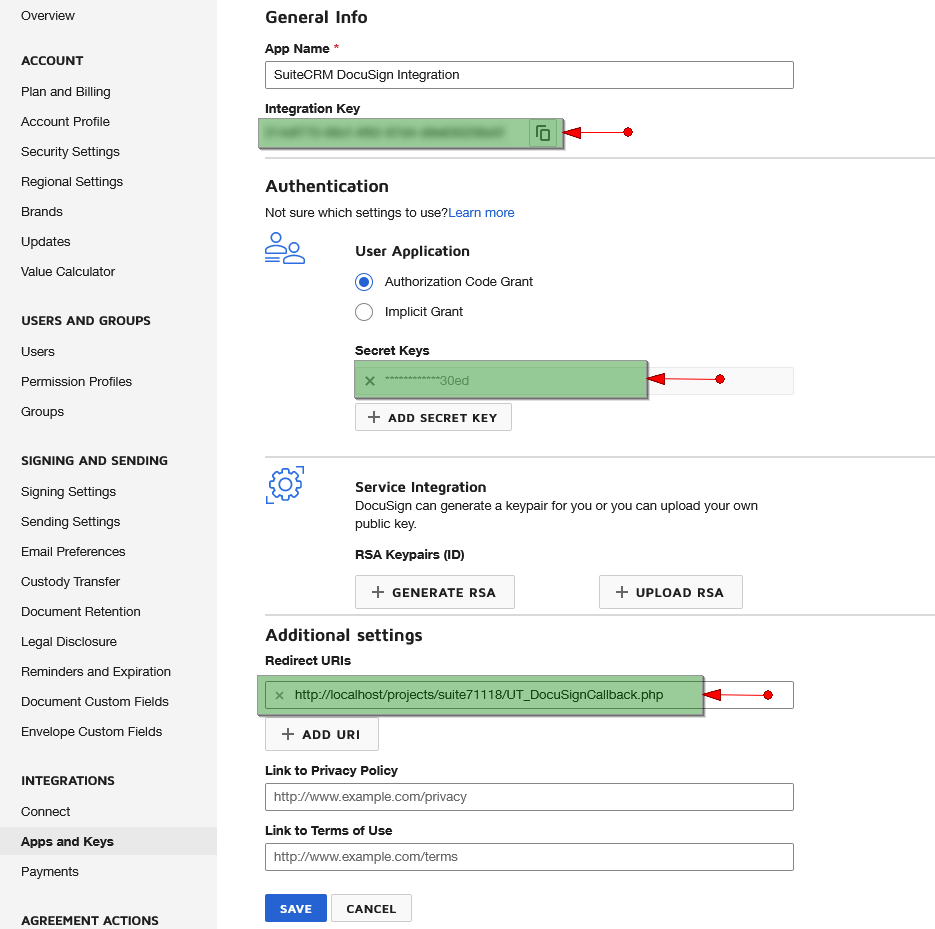
6. On CRM, Navigate to Admin -> “Docusign Configuration” and Provide the “Integration Key” and “Secret Key”. Copy the Redirect URI from CRM configuration and paste it to the Docusign “Redirect URIs”. Keep the Authentication to "Authorization Code Grant".
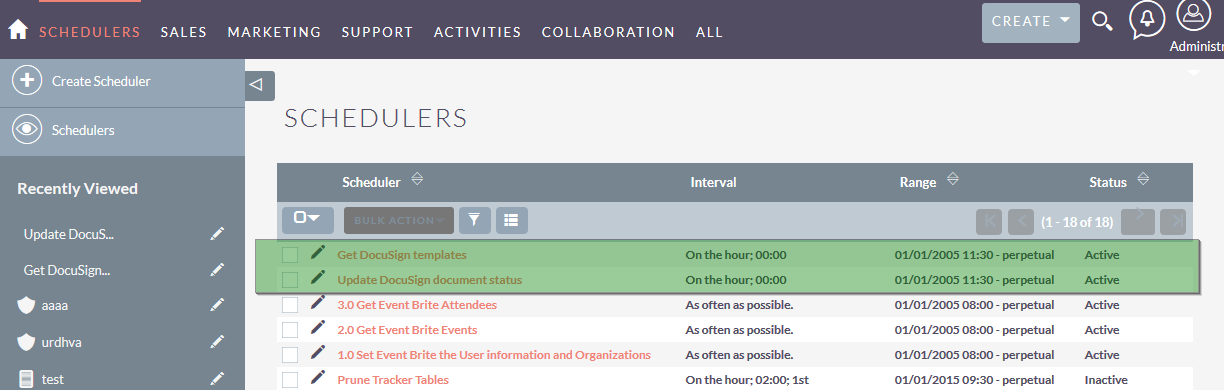
7. Navigate to Admin -> “Schedulers” and create 2 Scheduler and set the frequency as per the needs
-
"I had a slow go with the installation because I am new to SuiteCRM and this was the first module I have ever installed. I received excellent support v..." - jasonbunch
Read More Reviews
4 years ago
How does one create a schedule??
4 years ago
found it :)